
So we have long known that a way to blend in the seams on your latex appliance was with tissue paper and more latex. And the way to blend in edges on your silicone appliances is with Skin Tite. After last year at Dragoncon, while working on all the Irathient masks, I wanted to find a better and more dependable way to blend in an edge.
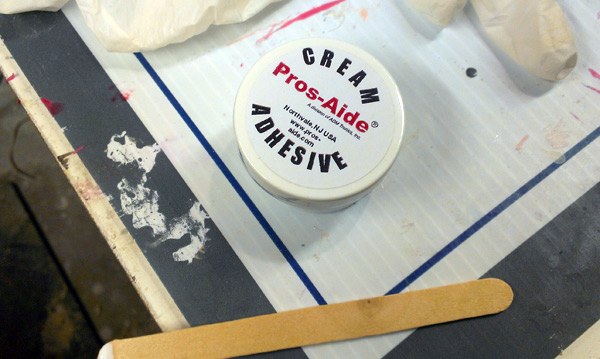
Flesh latex and tissue ruins the edges of your appliances as it builds up over time, and Skin tite sometimes doesn’t cure (sometimes makeup, sometimes lotions, sometimes just the oils in peoples skin). I had always heard of Bondo (not the car stuff), which is pros aide mixed with Cabosil (a fumed silica). Well I decided to experiment.
We already have plenty of Pros Aide in stock, so I ordered some Cabosil and started mixing it. Well I thought, “hey if I use the Pros Aide cream, it will be nice and thick”. But it was too thick. In fact, after looking things up, the Pros Aide cream can be used pretty much as is for blending in edges.
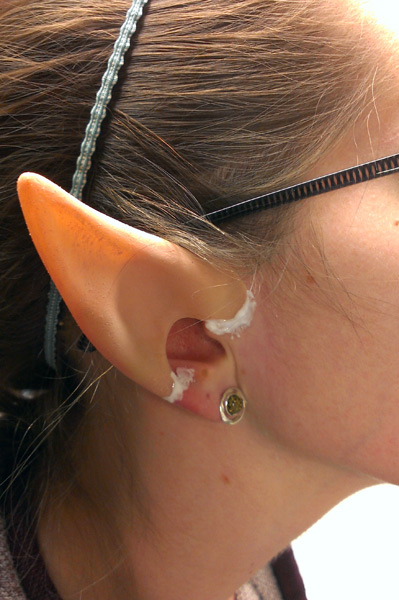
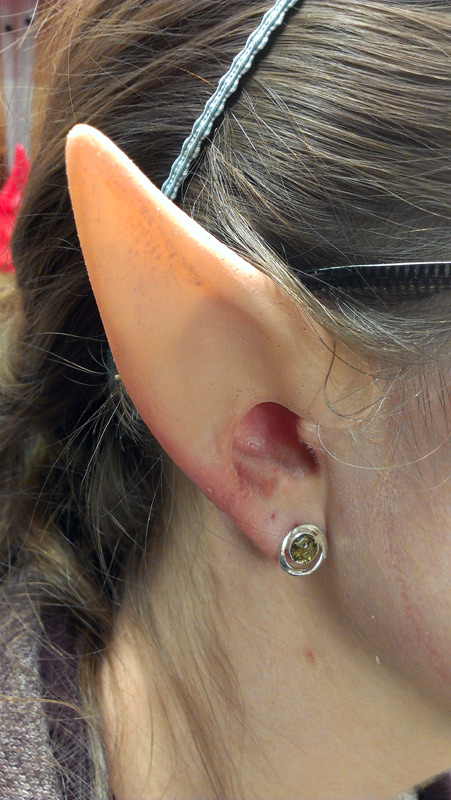
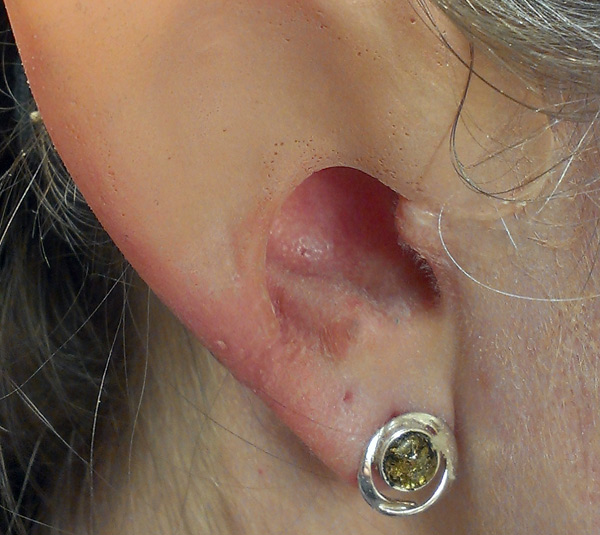
So on the second try, here are the results I got (thanks to Sara for taking time away from her day to allow me to glue things on her head and get glue all in her hair):

And a video showing off the seam it in real time under studio lighting:
Some things I learned. It is best to work in thin layers and let it dry a bit before adding more. When I dabbed it on thick, it took quite a while for the Pros Aide underneath to dry. The seams looked great, but when Sara moved, it pulled the seam and then it was more visible from then on. It cleaned off Sara’s skin well and even cleaned off the appliance with remover. It also removed the makeup, so each time you do this, you will have to repaint the bottom part of the ear. It does take a bit of time, so you have to be patient. Don’t rush it, if you start painting when it is still wet underneath, it can make the seam pop out again.
What I don’t know, is how rough this will be on your prosthetic ears in the long run. Using this adhesive and remover may break down the latex quicker. But I do think it is better overall then using the latex and tissue method.
Next, using this method to blend in our Dwarf Noses!