How to photograph your ears for color matching

by Michael Bielaczyc

So now that everyone knows that we can do a custom color match to the elf ears you order, we wanted to talk about photographing your ears. First there is a little color lesson. (See art school does pay off!)

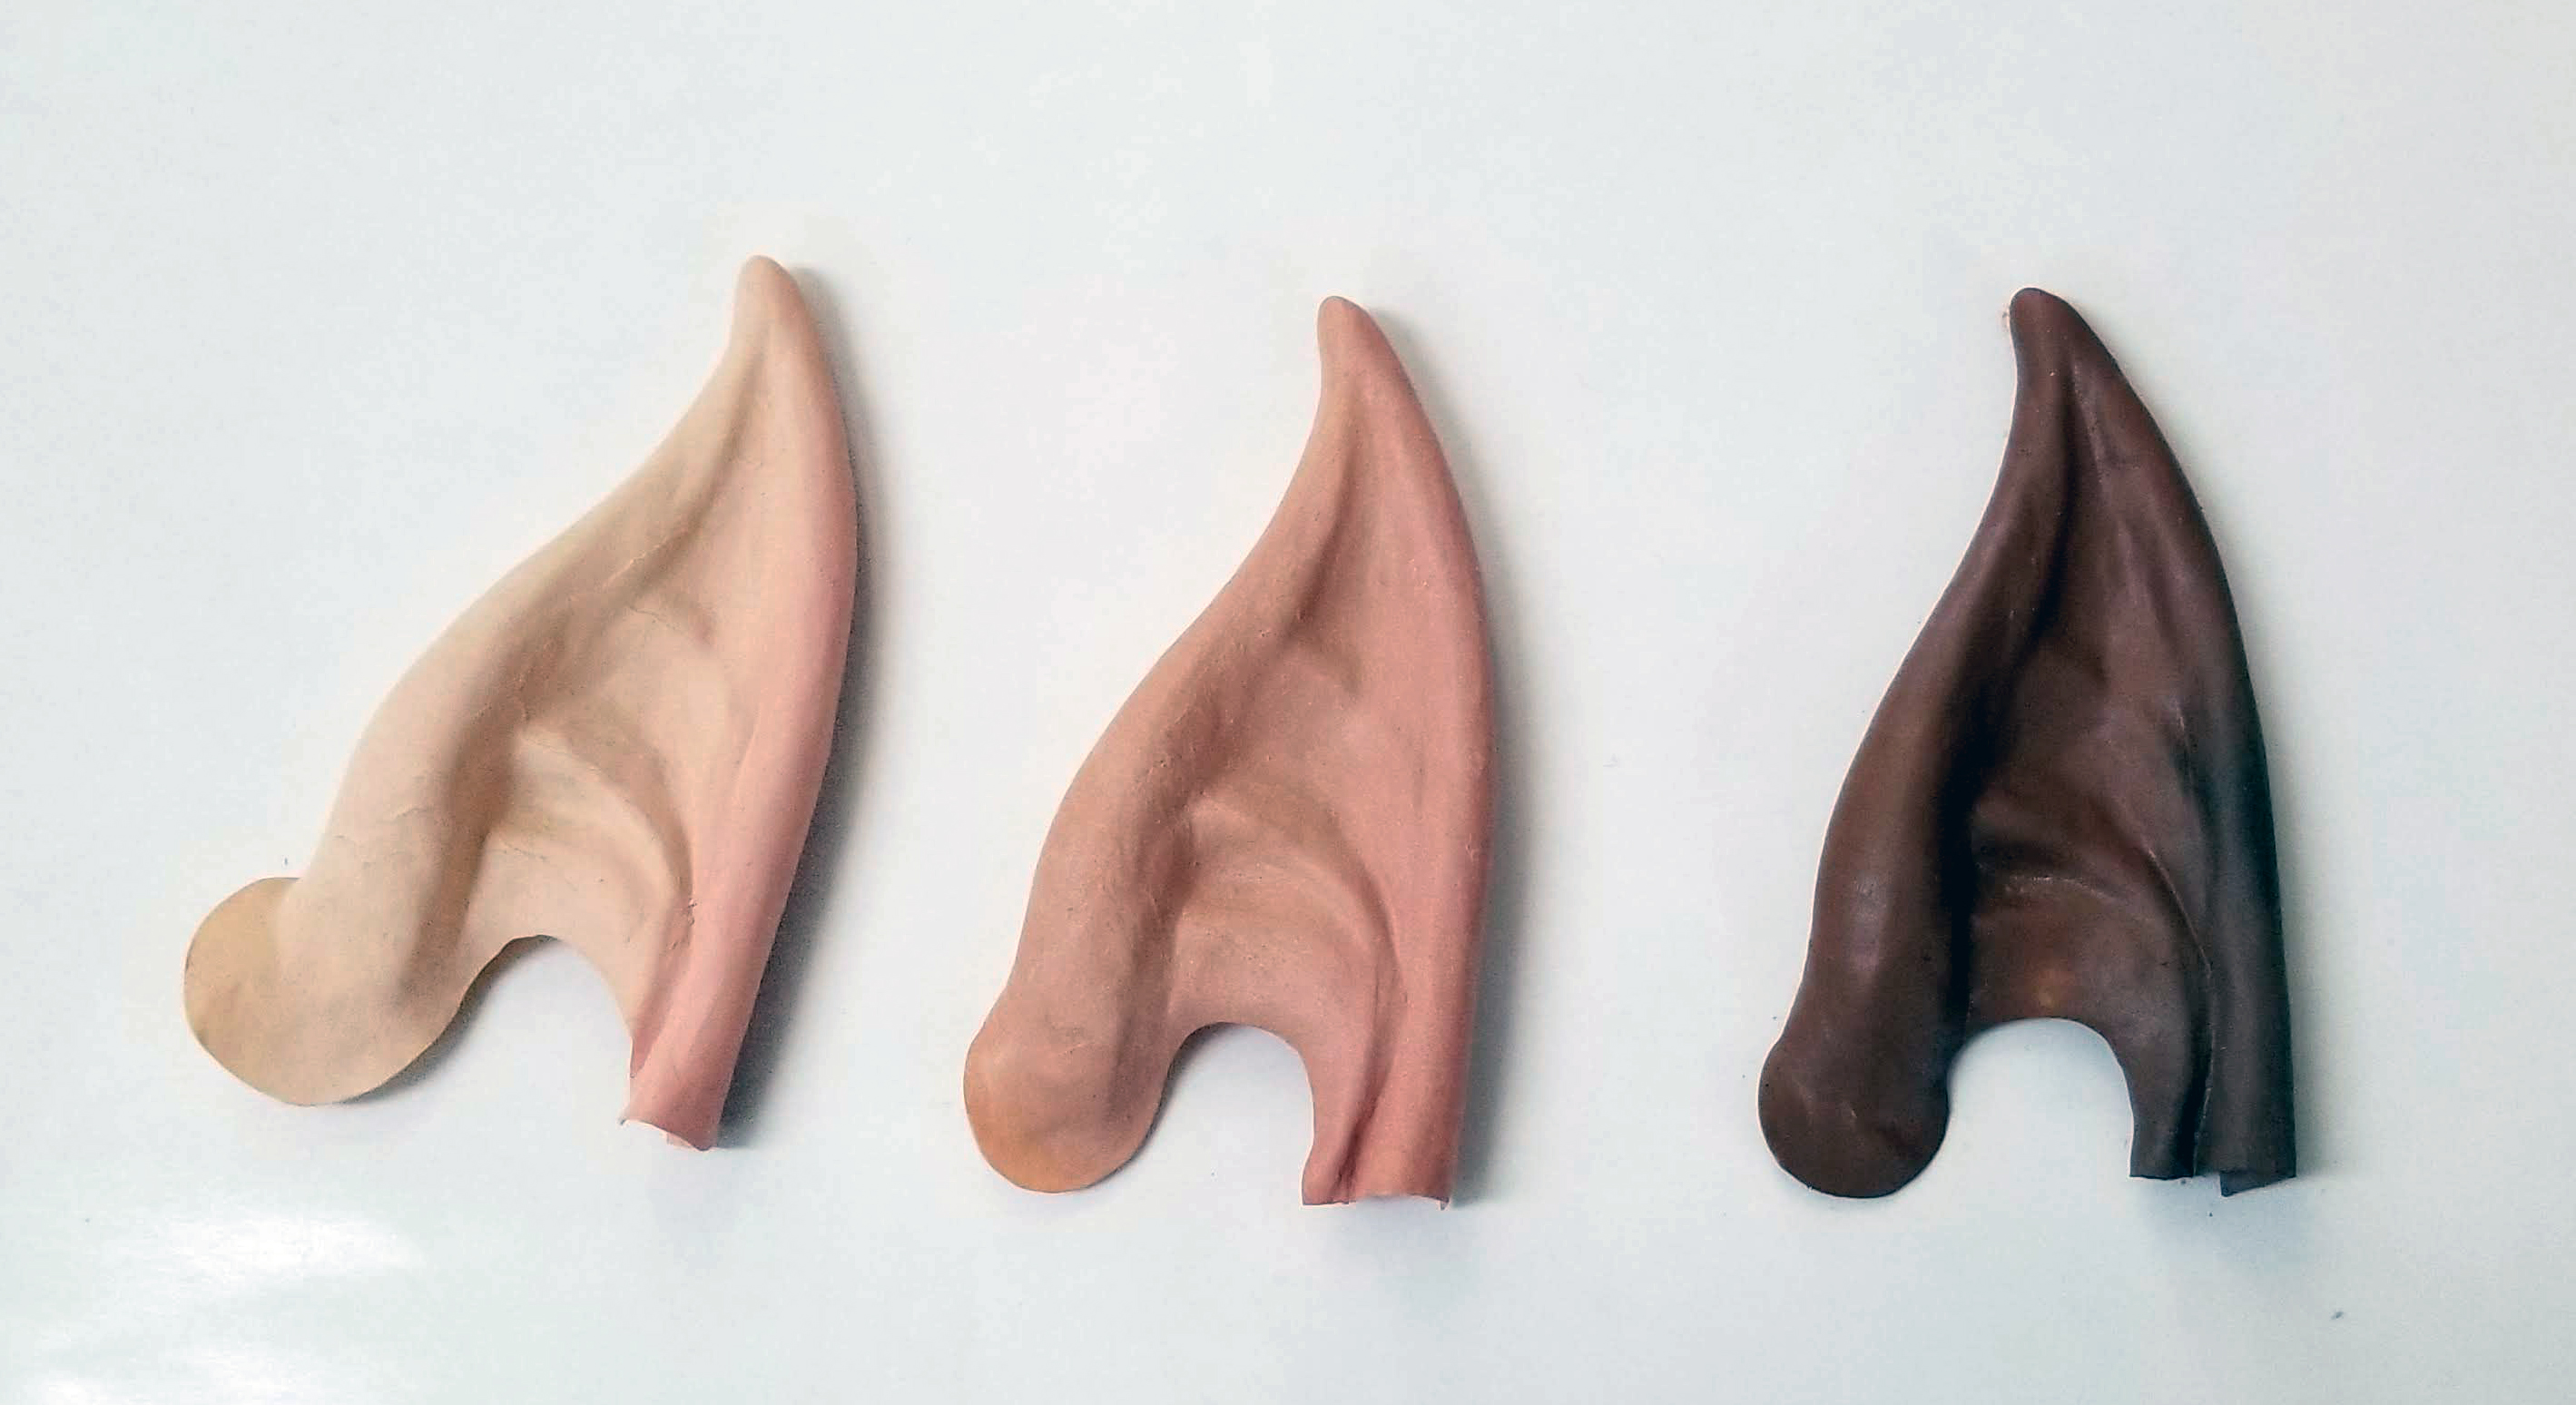
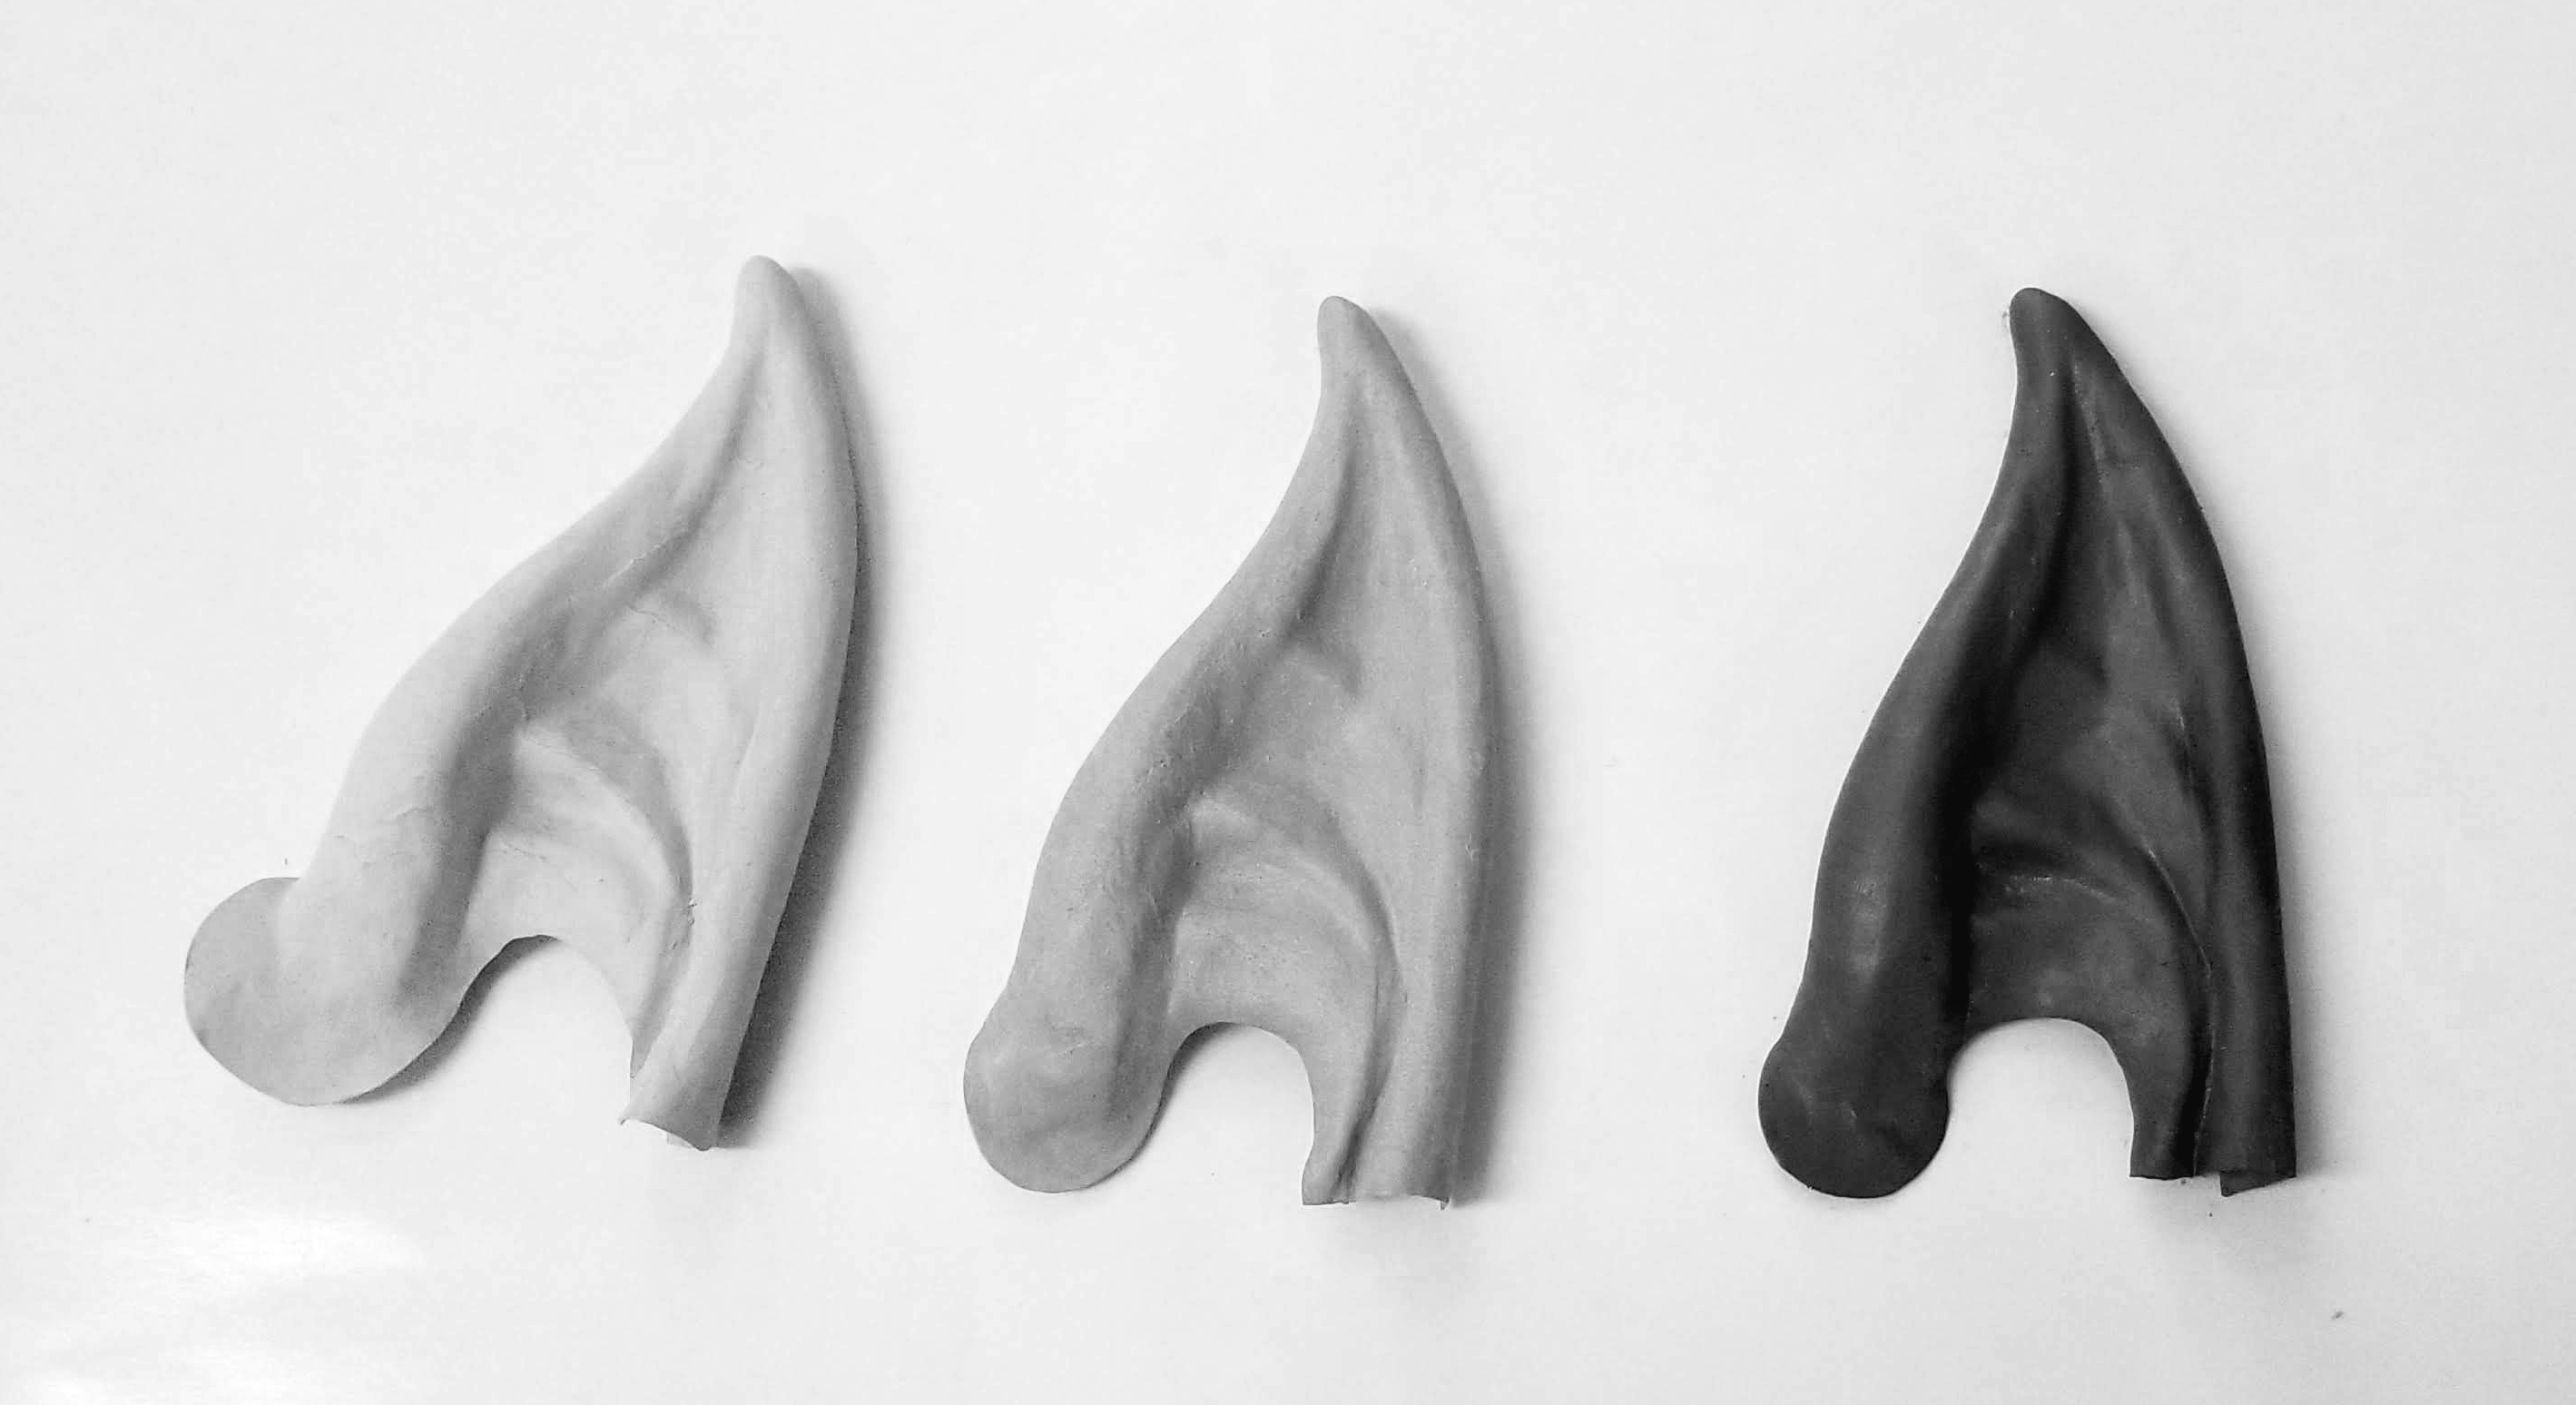
When we color your ears we need to know two different things, one is the hue (the base color) and the second is the value (light to dark).

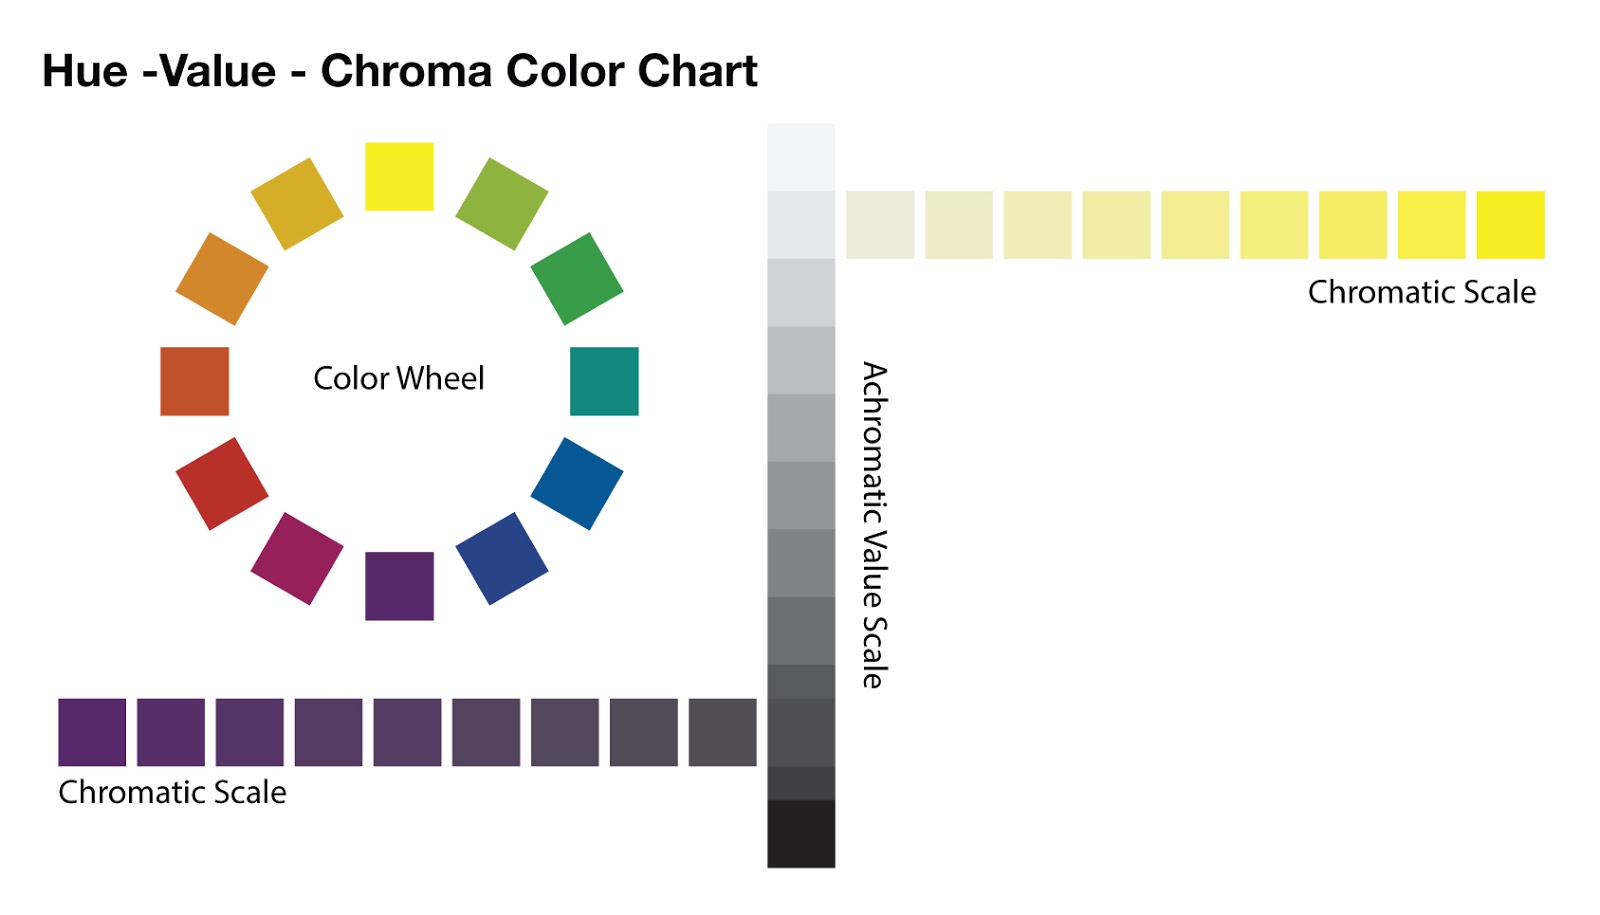
These two basic things then allow us to tweak the color until it matches you perfectly.

Three Basic Colors
Our three basic color options. Each of these comprises of at least 3 different make ups to match the common elements in each person’s ears, a light tone in the top front, a mid tone middle, and a dark blush tone along the back.
3 Values
Removing the color shows the basic values. sometimes you can match the color, but if the value is wrong the elf ears still won’t look right.

Lighting and Photos

DON’T Be backlit.

A classic problem with photos. We have no idea what to paint the ears… gray?

DO be aware of reflective light.

You can see the pink reflecting on the front of her face easily, but it is also reflecting along the front of the upper part of her ear. Bright clothing with strong hues can tint your ears, so dark colors are best.
Sara couldn’t stop laughing after she saw her face in the last photo, so I had to share her smile in this one.

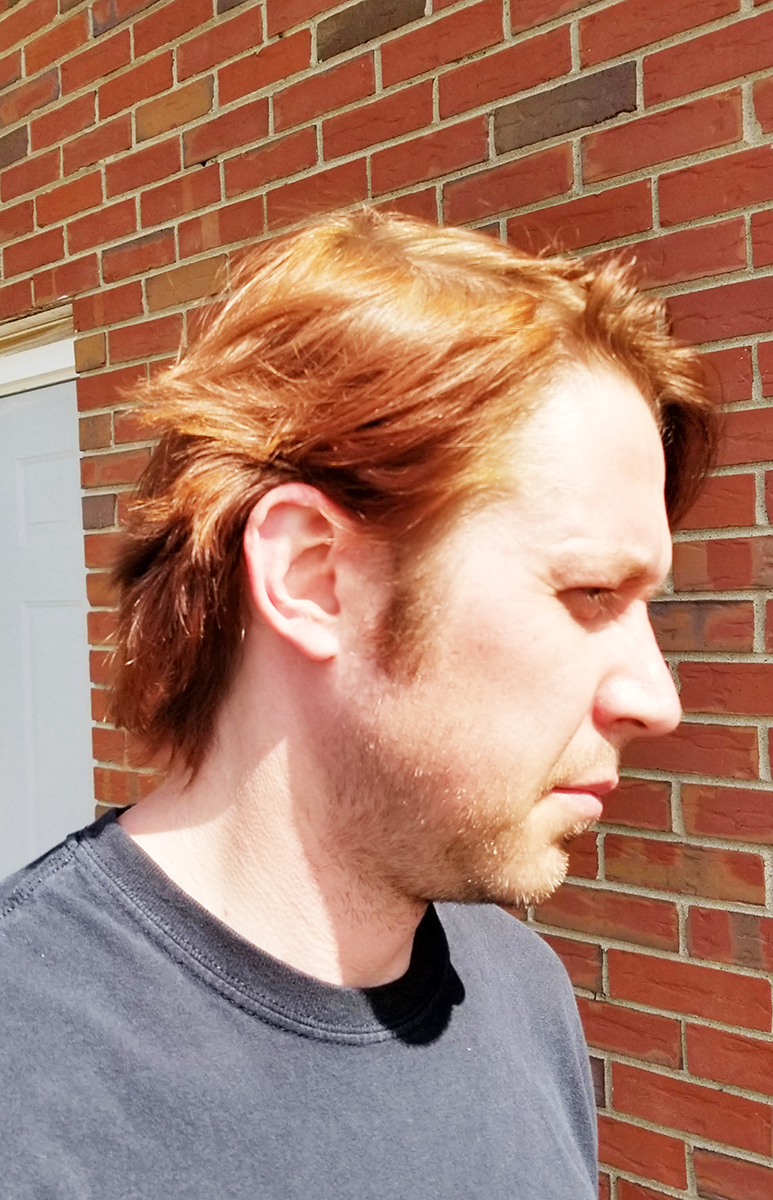
DON’T shoot outside in full sun.

Over lit images blow out the color and give us no information. Bright sun or flash photography can do this. According to this photo Paul’s ears are almost white. Also, he was feeling quite tortured by forcing him out into the daylight, and no one wants to feel like that!

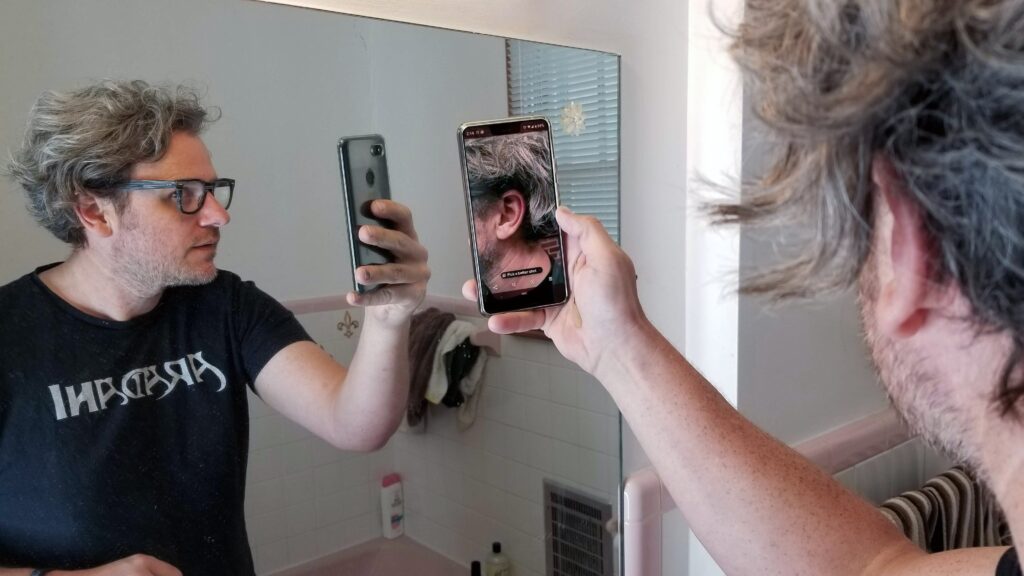
DO compare the photo to your reflection in a well lit mirror and make sure they match.

Things to Remember

The ears will never match completely in every lighting situation. For photos and film, you often have to paint them a little more red or they will look “dead” on film or photo. In some cons the lighting has a yellow tint, others a blue tint, and both change the way the ears and make-up look.

Your skin is translucent and full of color, and there is no way to completely replicate that in real life. We can get it as close as possible, and believe me, everyone is just going to love you as a person with pointed ears!

Photo Checklist:

The best way to better match your skintone is to send us a photo of your ear. Here are a few tips for ordering and sending a photo.
  • Order whichever color you think is closest to your skintone.
  • On the shopping cart page in the box labelled Special instructions for seller, please type/paste, “I will be emailing a picture of my ear shortly for color matching.”
When taking the picture, please keep a few things in mind.
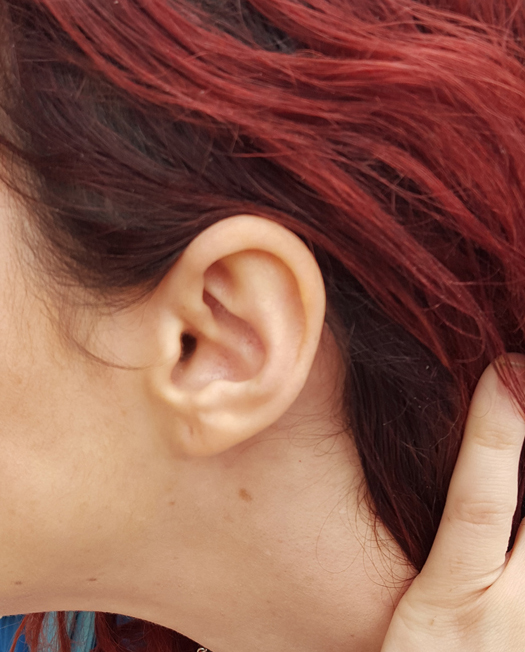
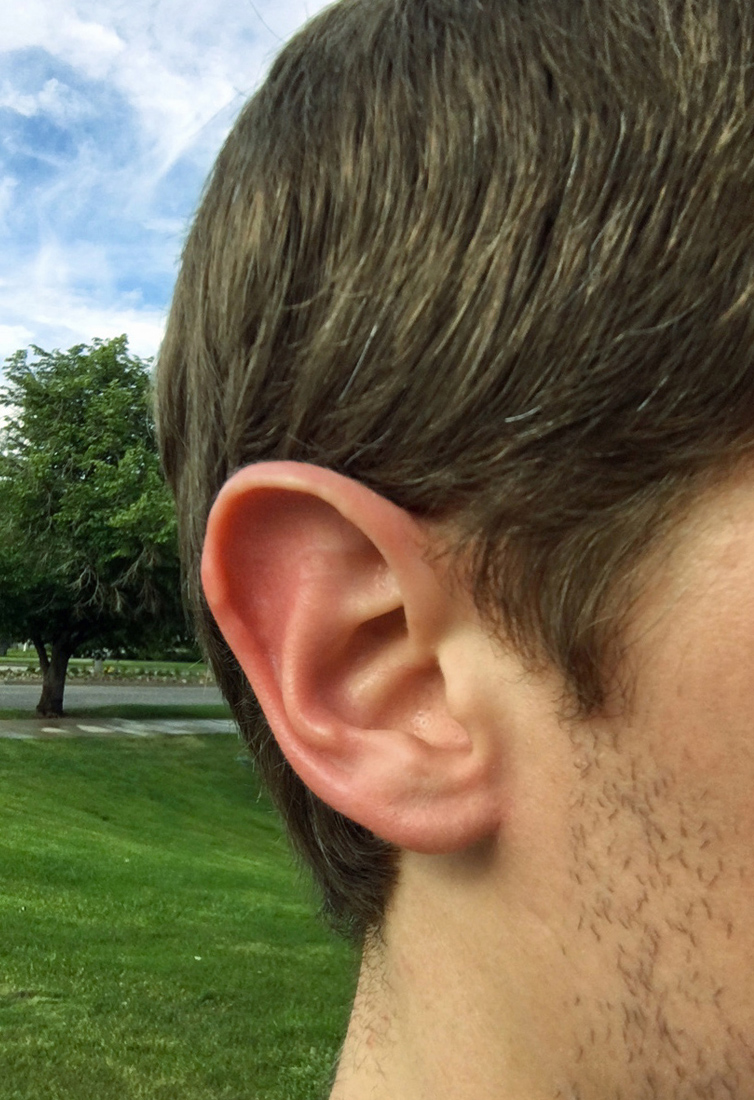
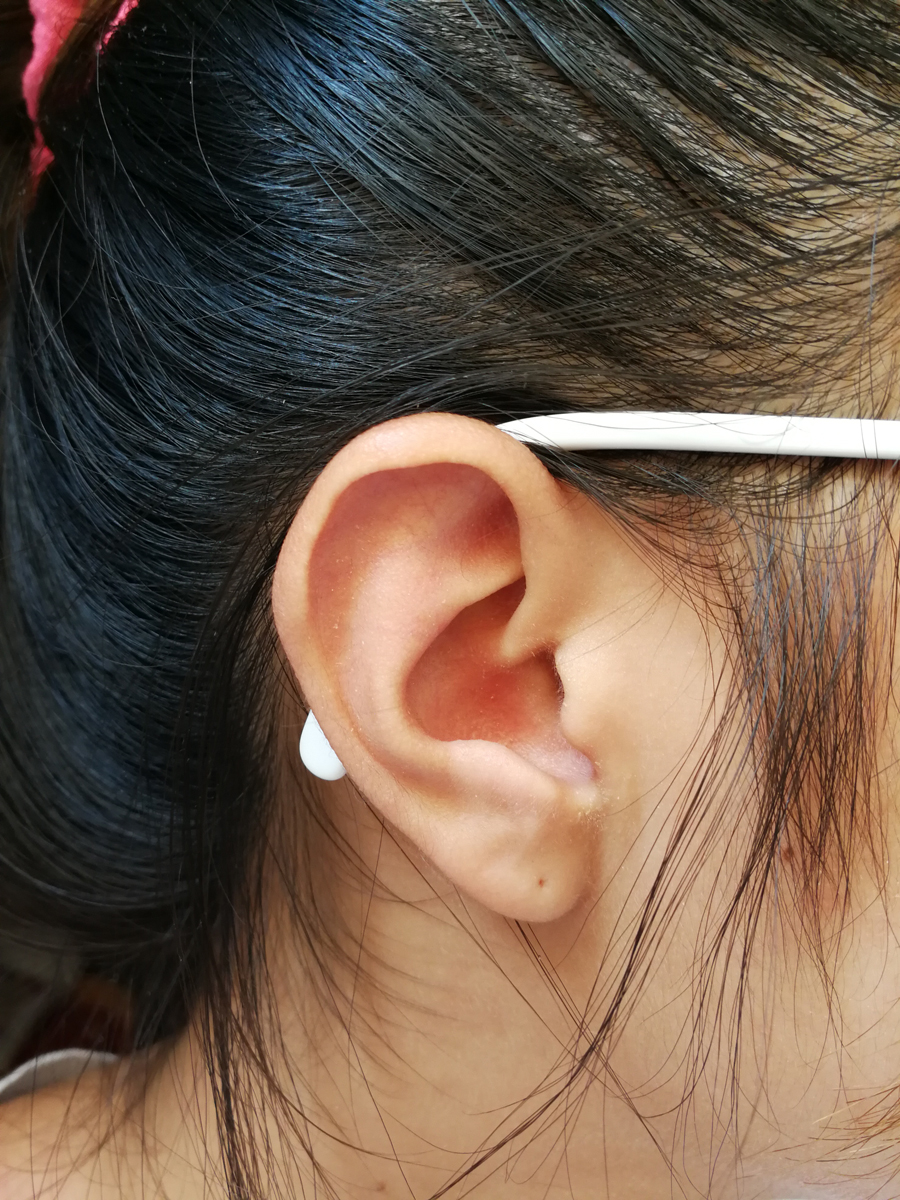
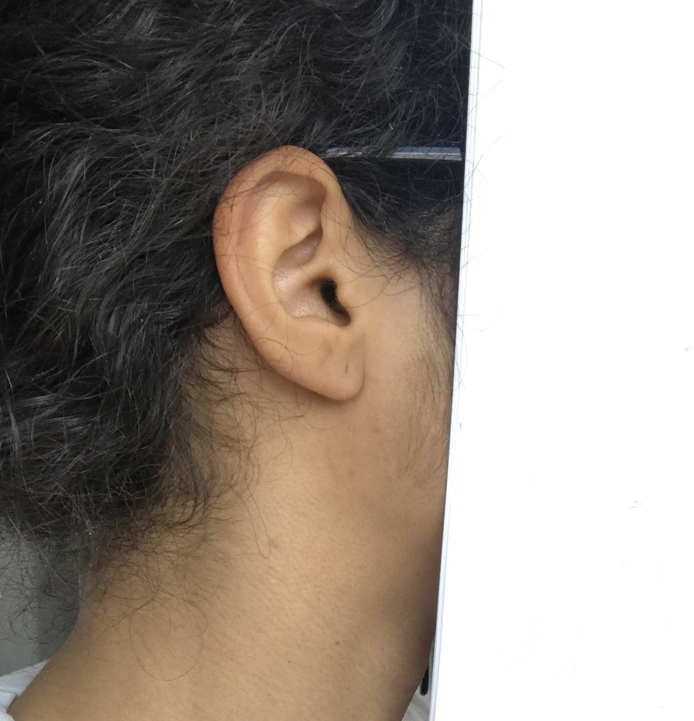
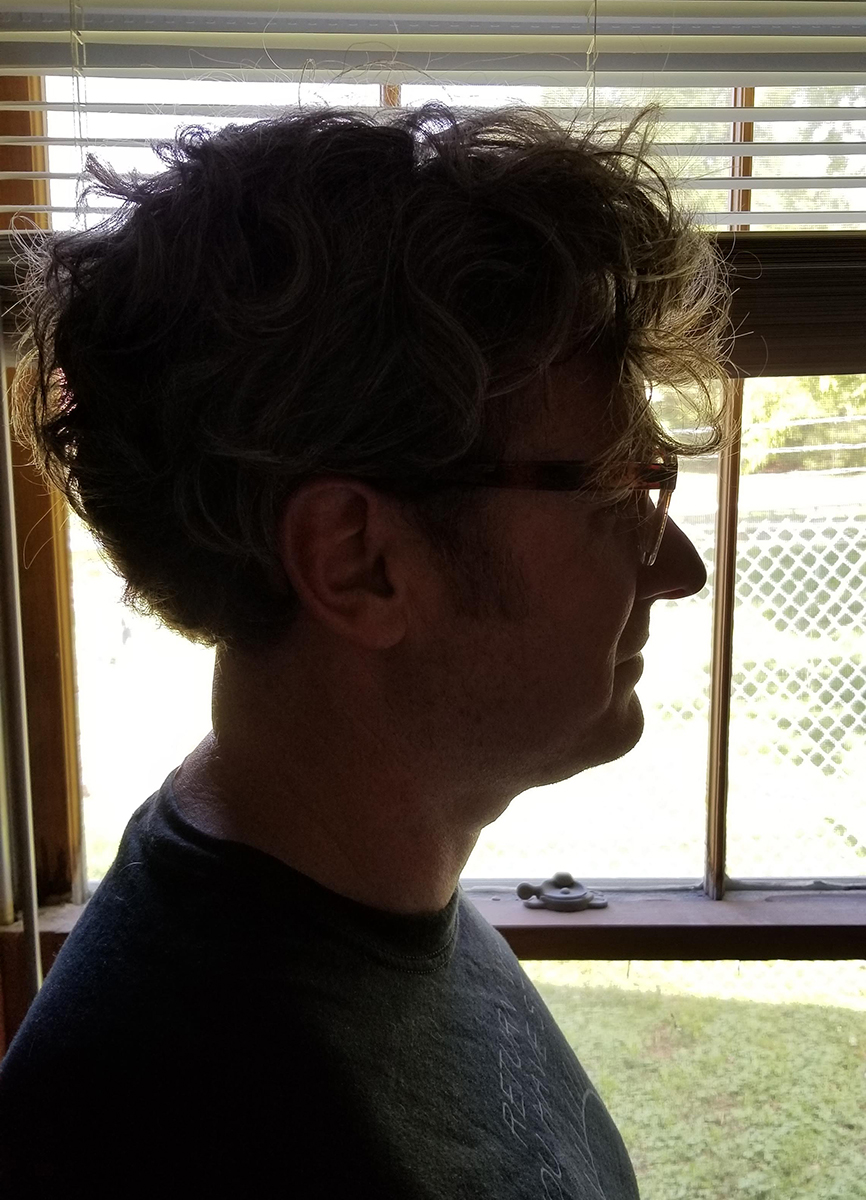
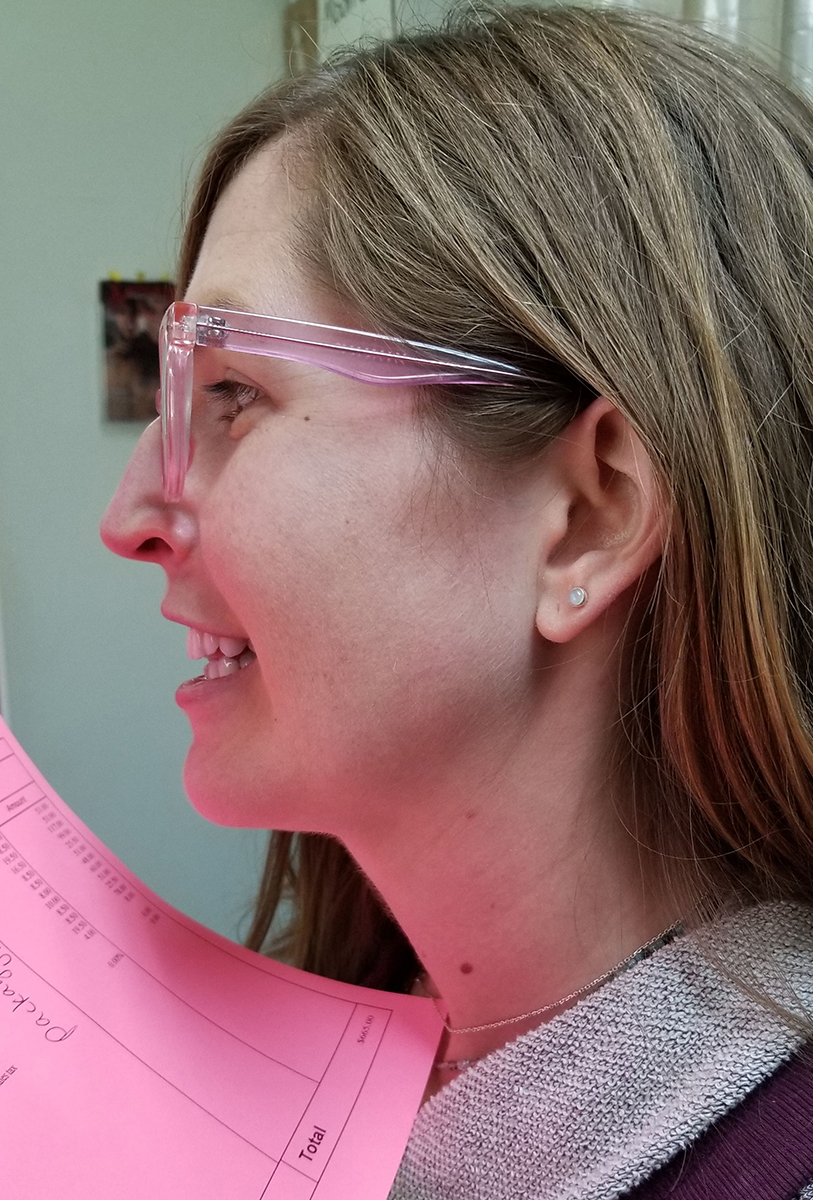
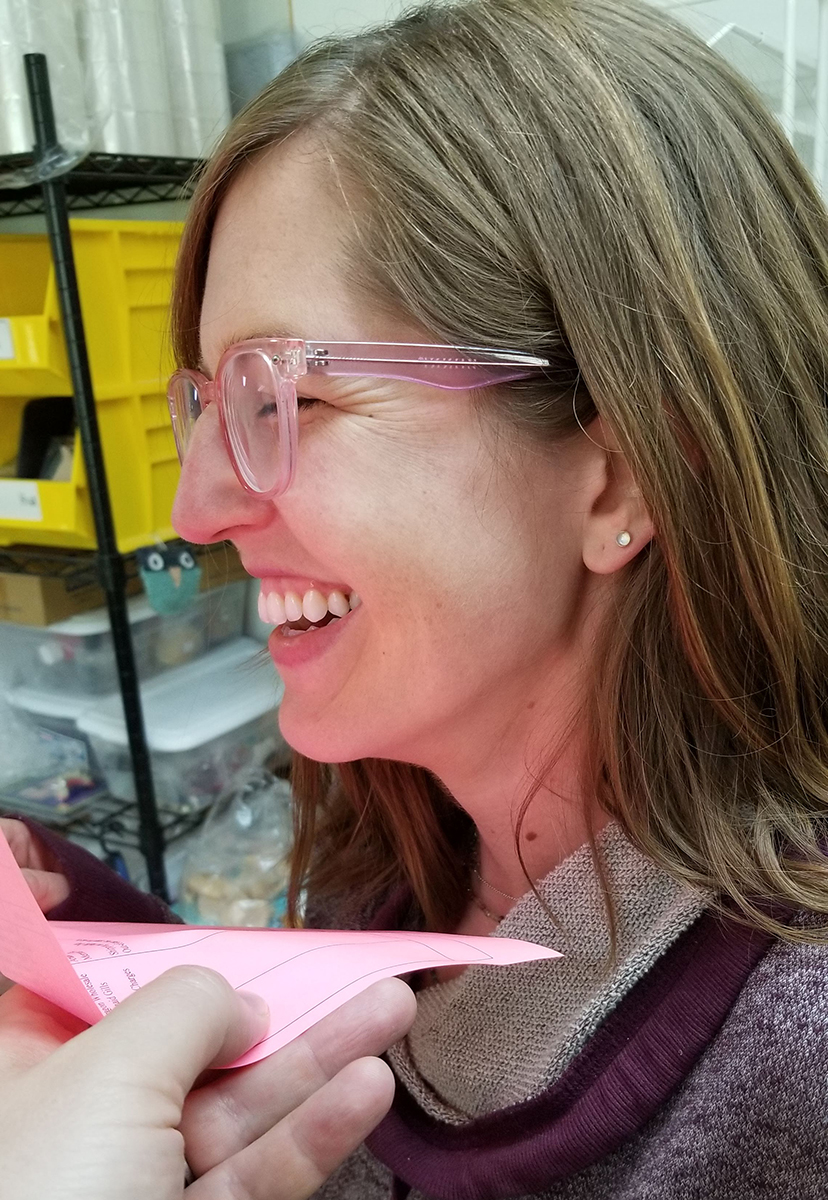
  • A close up of your ear from the side is best (shots from the front don’t help)
  • Snap the photo outdoors (natural light is universal in tone, unlike indoor lighting or flashes).
  • Partly sunny days are best (not too many clouds, not too much sun)
  • The sun should be behind the camera, not behind your head (back lit photos don’t help).
Please be aware that the ears still won’t be a perfect match, as colors do vary from cameras, monitors, and the fact that we are painting these by hand, but we will do our best. You may consider purchasing an RMG Pro-Kit so that you have the best make-up for touch-ups to get an even better match. Here are a few tutorials that might help, Painting the Aradani Way and Applying your Elf Ears.
Here are a few examples of some excellent photos from past customers.