
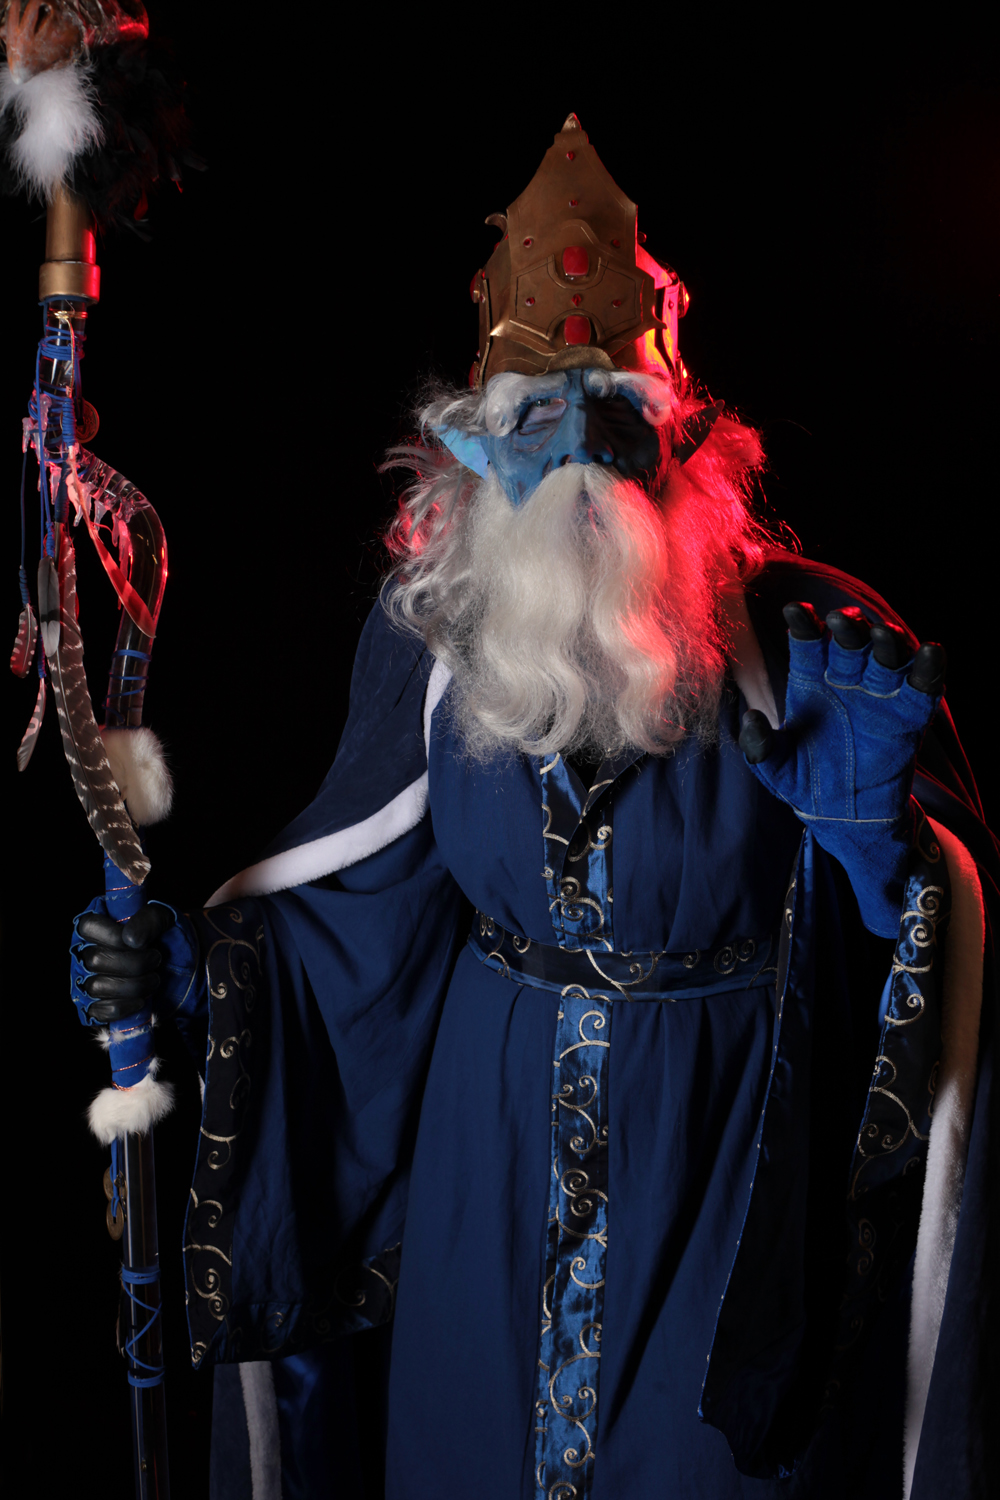
So after working on my Ice King costume for Dragon*Con in 2013, I decided that while it was cool, I could make a better Realistic Ice King. Soooo much better…

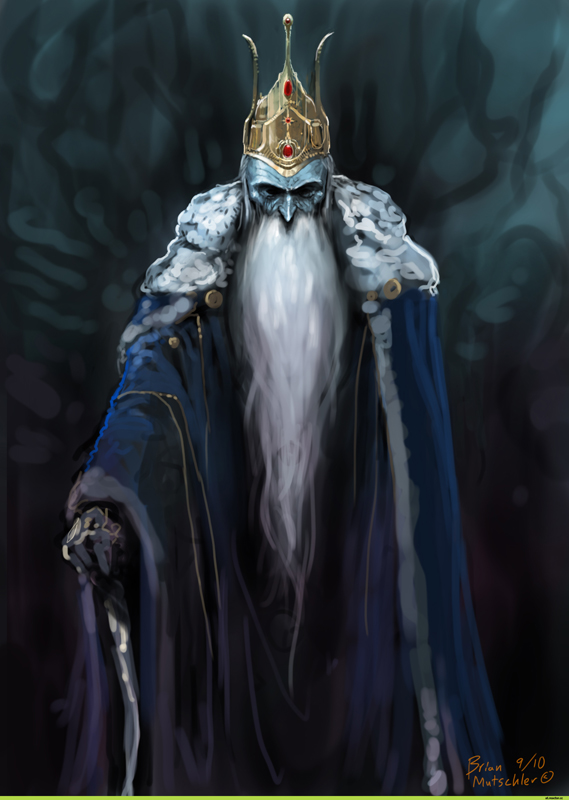
In the process of redesigning the costume, I pretty much scraped all of the first Ice King costume. In fact, looking at the original photos, the only piece that seems to have survived the upgrade was the crown. This was the artwork that started my entire quest of making a realistic Ice King, a beautiful, creepy digital painting by Brian Mutschler.
The Mask
My brother sculpted up the mask shortly before the big Dragon*Con reveal. In fact, while working the Dealer’s Hall that year, between air-brushing appointments, he was putting on the final touches for the painting and hair application.
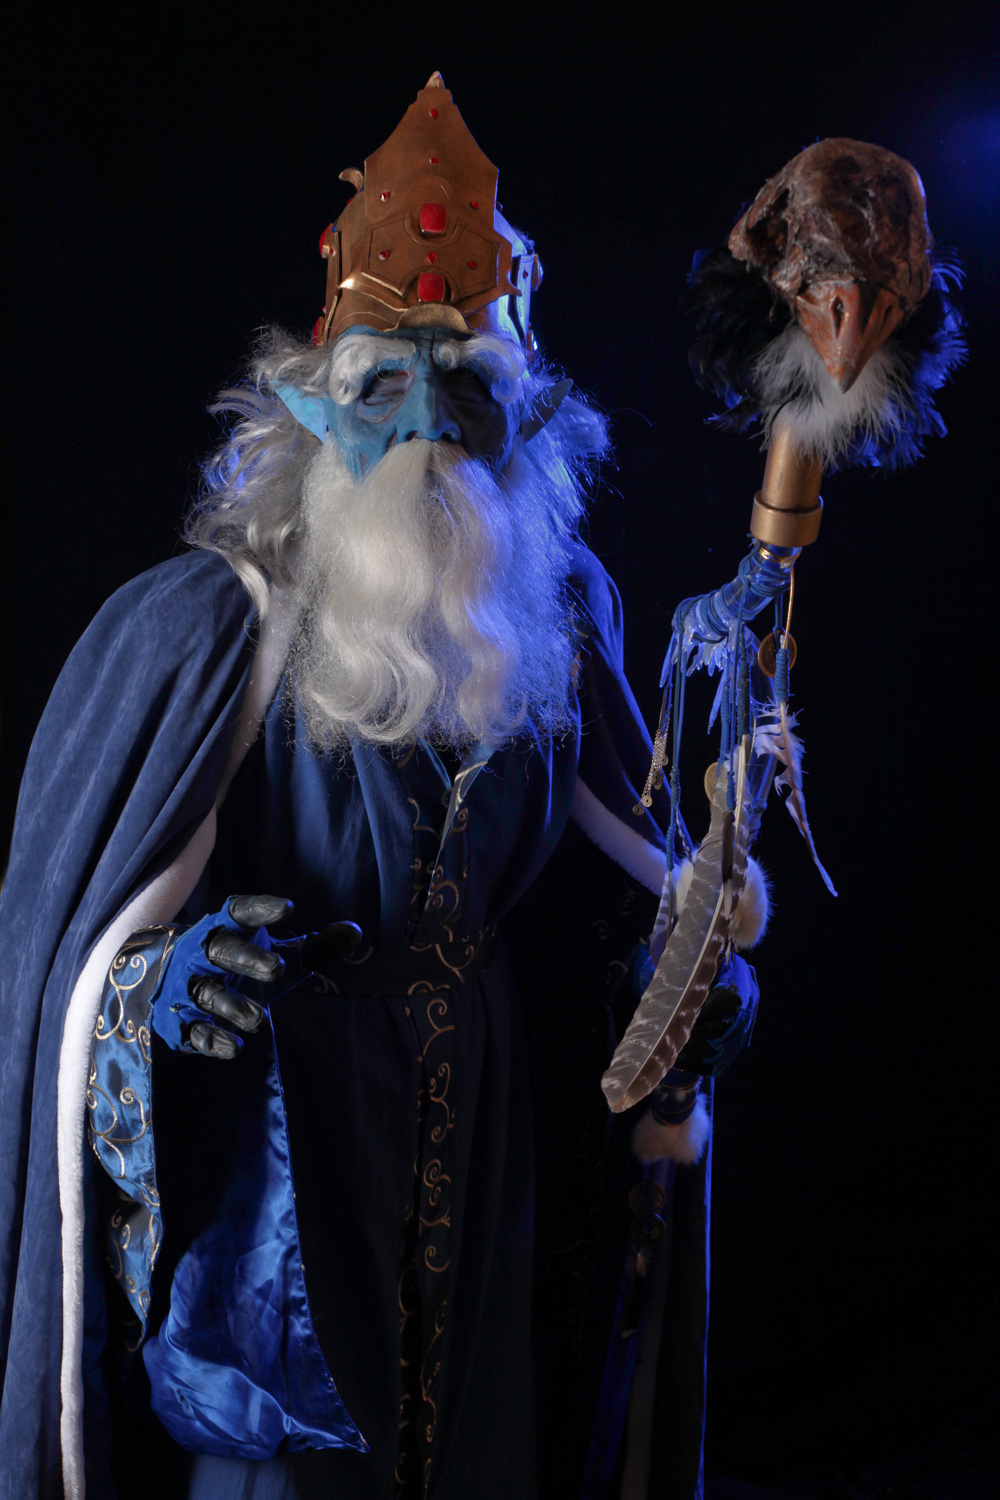
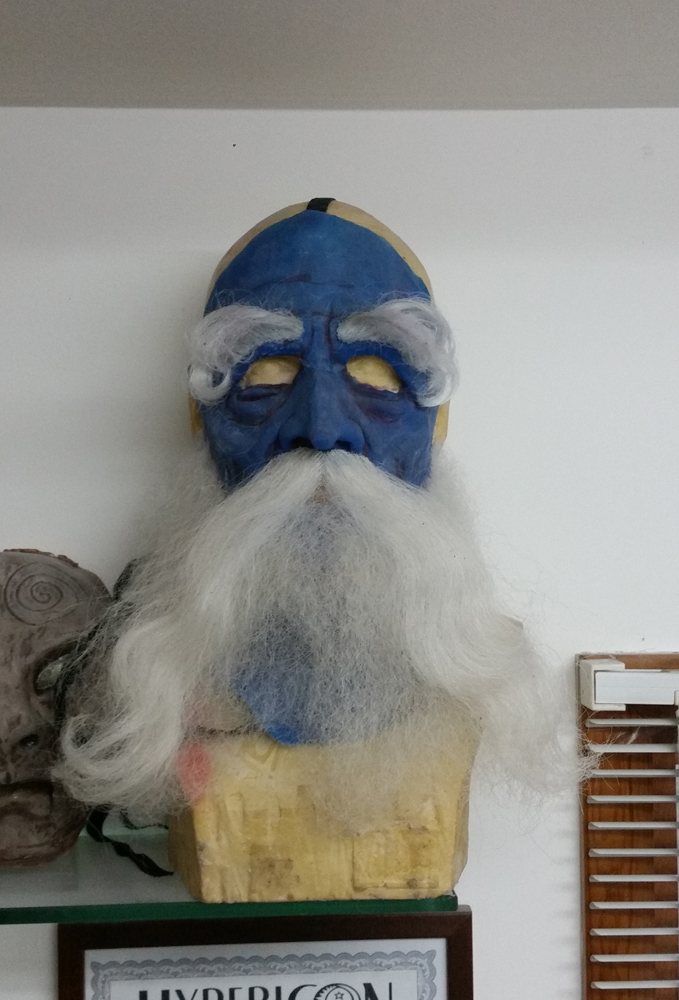 The mask is a silicone half mask, that attaches using a small amount of Pros Aide, but is mostly held in place with elastic straps that are glued to the backside of the mask. Silicone doesn’t like most things, it hates paints and it hates glues. However, there is a silicone based adhesive called Silpoxy. This is how we mounted the straps to the mask. As you can see in this photo, there are a lot of straps, but they are necessary. One ties around the temple, only around the jaw, and one around the lower neck.
 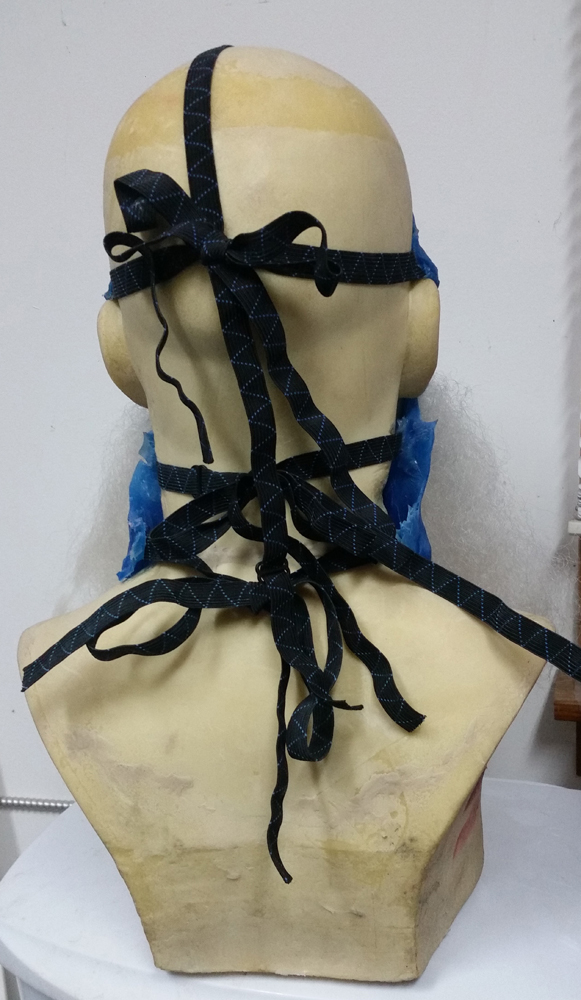 However, the two most important sets of straps are 1) the set that runs under the armpits and ties between the shoulder blades, and 2) the strap that runs directly over the top of the head. Silicone masks are quite heavy, and after wearing this costume a few times, the main problems that I have encountered is the mask wanted to slip down your face. Usually the adhesive and straps will help reduce this issue, but it typically becomes a problem around your brow. This over the head strap solves this issue perfectly, and comfortably.
The Crown
The crown was patterned in poster board, then cut and made using leather. I thought about a craft foam prop, but I just refuse to work with foam. It shares many of the same properties with leather, except one key thing, leather can survive almost anything. As it gets beat up, it looks old and worn. Craft foam tears and breaks.
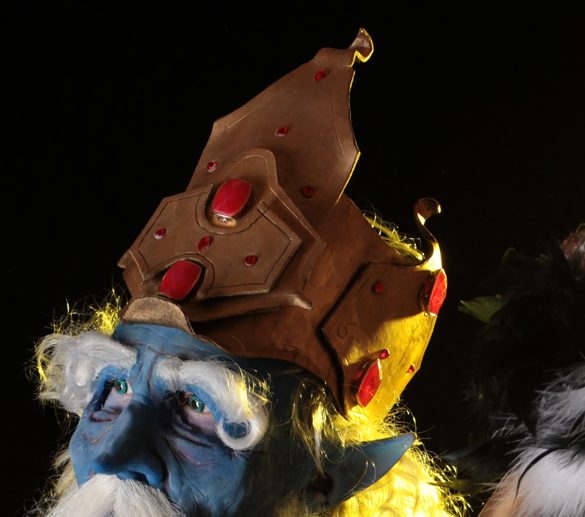 So the crown was made from leather, dyed black, and then spray painted metallic gold. The gems are costume jewelry bits from various necklaces and bracelets that I found at Kohl’s. I cut them off of the jewelry, then used epoxy and fishing line to mount them to the crown. The epoxy does the main task, the fishing line is there just to make sure that if one comes loose, I doesn’t clatter to the floor and vanish forever.
The Robes and Cloak
I ordered these custom from one of the suppliers that Aradani has worked with. While searching for cool Wizard robes, I found a few sellers that all had the same image. That eventually lead me to the source, Your Dress Maker. They are based in Thailand, but shipping time and cost are both great. They even allow you to vary the fabrics used in any of their designs with any fabric listed on their page.
For the robe I choose the Embroidered Mystic Coat and the cloak is their Fur Trimmed Cloak. It is also available hooded, but with this costume, that was not necessary.
The Staff of Gunter
The staff proper
While Mike is responsible for the epic mask, my crowning achievement was my companion, Gunter. Now some would argue that the Ice King would never harm Gunter, and I agree 100%. I mean look at him, he seems perfectly fine to me.
The staff was a 6 foot acrylic rod that I slowly melted by rotating it in an oven. Once it was droopy, I grabbed it with leather gloves and bent a curved shape into the top.
The staff is adorned with real bird feathers, chinese coins, and blue leather straps. The grip is real rabbit fur and blue suede. At the top and bottom of the staff are PVC tubes that are designed to look like metal caps. The bottom one has a rubber cork to give the staff traction. And the top one features Gunter’s Skull affixed to it. His skull was made from a styrofoam egg, with Magic Sculpt and Crayola Model Magic sculpted directly onto the egg. Once the basic shape was completed, I wrapped the sculpture in shrink wrap and used a heat gun on it. This caused the shrink wrap to bubble, peel, and melt, giving the skull a sickly, rotting appearance. I then used shoe polish and paints to do the final touches on the “flesh.” Gunter’s skull is mounted on feathers from boas that I got at Hobby Lobby, short white feathers and longer, puffier black ones.
The electronics
But the coolest part of the staff is the glowing effects. Inside the “foot” of the staff is a cheap Harbor Freight 9 LED flashlight, with a blue film over the light. The top of the staff hides a programmable Gemma circuit board and high capacity lithium battery. This circuit board is about the size of a quarter, and is fully programmable using a language similar to C++. Plug it into a computer using a USB cord, write some code, update it to the Gemma, and have fun.
So the Gemma board is wired to 2 super bright LEDS, one blue, one white. The code that I wrote is a random series of functions that causes the 2 lights to alternate periodically. The blue fades in as the white fades out, one light suddenly dims while the other flashes to full brightness, etc. In my experience, the lights work for at least 5 hours without any dimming.
The Demonic Wishing Eye
 The latest edition to my costume, such a small piece, but those are sometimes the most interesting, is the Demonic Wishing Eye. I found a circular frame at a thrift store, primed it black and used gold spray paint to make it appear aged gold. I painted the eyeball pattern on the inside of half of a clear Christmas ornament. This was laid in the frame, and then the flesh of the Wishing Eye was sculpted in Crayola Model Magic, a mixture of black and dark green. Once the sculpture was dried, painted dark shadows into the recessed areas, and dry brushed highlights on the raised areas. The final step was a coating of a glossy clear coat, to give it a sickly, wet appearance.
The final step was lighting. I didn’t need a fancy Gemma for this bit, just a “Throwie” made with a cell battery and a color alternating LED. The cool thing about those LEDs is that you can cycle through the colors using the third leg of the LED, and either set it to a specific color, or just let is go through the spectrum of RGB.